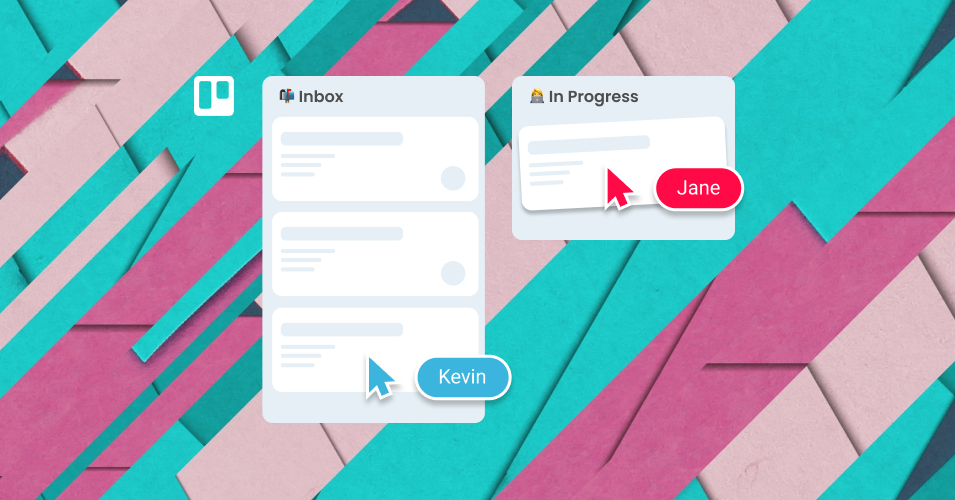
Managing business workflows with Trello: A step-by-step guide
Wrestling with disorganized business workflows? Get organized with Trello and SendBoard’s Email for Trello Power-Up! Follow our step-by-step guide to understanding, setting up, and using workflows for your business tasks and emails.
Unlock the full potential of your business workflow with the help of Trello and SendBoard’s Email for Trello Power-Up. In this guide, we’ll cover the basics of a good workflow, show you how to manage your tasks and emails right from Trello, and give you our best tips and tricks for streamlining that process with automation. Let’s dive in!
What is a workflow?
To get started, let’s get to grips with what a workflow actually is. Simply put, it’s a sequence of steps through which a task moves from start to finish.
Why use workflows for your business?
Although you might not realize it, every task in your business follows a workflow – but understanding and effectively managing these workflows is the key to unlocking their potential!
Designing a good business workflow is all about getting and staying organized. When you have a workflow to follow, with concrete steps for each part of your process, it’s easy to spot when you’re off track and quick to get back in alignment.
Think of your workflow as a set of waymarkers, guiding you through your work from start to finish.
Setting up your first workflow in Trello
Trello is a flexible, Kanban-style platform for getting started with workflows. All your to-dos are arranged as cards on a board, and separated into lists that represent the steps in your workflow.
At its core, Trello’s visual layout is based on the Kanban methodology – a system for monitoring and optimizing workflows that originated in Japan, but is now widely used for improving task management.
Let’s break that down a bit further by setting up your first workflow in Trello:
Create a new Trello board. Your board represents a project or a process that you’d like to follow a workflow for. You can create as many different boards as you need!
Create lists on your board. Each list represents a consecutive stage of your workflow. For example, if you're setting up a workflow for content creation, your lists might be 'Ideas', 'Research', 'Writing', 'Editing', and 'Ready for Publishing'.
Create cards in your lists. Each card represents a task. Keep each card in the list that’s relevant for the stage it’s at in your workflow.
Your new Trello workflow is not just a static set of cards and lists! When a task progresses to the next stage in your workflow, the idea is to move your cards between the lists on your board, so that you always have access to a realistic snapshot of your work in progress.
An example of a Trello workflow – it’s a bit like a dynamic cork board with sticky notes
Trello also gives you the added benefit of organization and collaboration features to enhance your workflow. You can assign team members to cards, add due dates, attach files for context, and even chat with your team directly on the card.
Email for Trello: Enhancing Trello Workflows
Once you’re all set up with your workflow in Trello, it’s a pretty intuitive and efficient way to handle your to-dos, collaborate with your team, and make sure you’re getting stuff done on time.
But for most teams, email is also a key part of their business workflow – and that can mean a lot of context switching. Do these scenarios sound a bit like you?
Bouncing back and forth between your Trello board and your team email inbox, wasting time that could be better spent elsewhere?
Email to-dos and requests slip through the cracks, because they’re not going directly into your Trello workflow?
Marking emails unread or starring them to come back to later, only to forget about them or lose them in your inbox?
Doubling-up on work in a shared inbox, because of lack of clarity about who’s responsible for which emails?
The Email for Trello Power-Up aims to solve this – by using Trello as a built-in workflow for your emails. With the Power-Up added to your Trello board, all emails arrive as new cards in a designated list at the start of your workflow, ready for you to work with and move through the pipeline. Everyone can see where email tasks are at, alongside contextual comments and attachments, eliminating the need for messy ‘mark unread’ workarounds.
Examples of Business Workflows in Trello
Every business is different, but most workflows will include similar stages as work progresses from start to finish.
Let’s take a closer look at an example email workflow. By using Trello’s Kanban-style layout, you can add clear stages to your email workflow – it’s project management right inside your email inbox!
📥 Inbox: With the Email for Trello Power-Up installed, new email enquiries land here. Each email card moves from left to right through your workflow.
⚙️ In Progress: This is where the work happens! Send and reply to emails, collaborate with team members, and keep track of your to-dos.
🎉 Done: Everyone’s favorite list in Trello! Archive old conversations to keep your workflow streamlined.
Your business email inbox in Trello. You can copy this template!
The basic structure above is very simple – but you can add as many additional lists as you need to tailor your solution to your team. For example:
If you’re creating a Sales Pipeline, create lists for 'New Leads', 'Contacted', 'Proposal Sent', 'Negotiation', and 'Closed'.
For a Bookings & Reservations workflow, lists could include ‘Enquiries’, ‘Scheduled Stays’, ‘Check In’, ‘Check Out’ and ‘Review’.
If you’re planning a Marketing Campaign workflow, your lists could represent the phases of your project like ‘Ideas’, ‘Up Next’, ‘In Progress’, ‘Review’ and ‘Live’.
Need ideas for your business use case? Browse our directory of ready-to-use Trello board templates.
Advanced Trello Workflow Tips
Ready to go beyond the basics? Perhaps the most powerful part of working with email in Trello is being able to automatically send emails at a certain point in your workflow.
There are two key steps to automating your emails in Trello.
Create a few Saved Replies. These are template responses for emails you send often. You can give them a personalized feel by including variables like your customer’s name.
Set up automations to send your Saved Replies. The easiest automation is to set up an auto-reply for incoming emails. This will send your chosen Saved Reply as a standard response to any new emails. This is certainly handy, but we can go a lot further! Read on below for more.
The Email for Trello Power-Up, combined with Trello Automation, creates a responsive, flexible system that can send emails based on real-time data from your Trello board. Let the bots handle your emails, so you can focus on more important things! For example:
Send an email when a card moves into a certain list
When you drag a card from one list to another, Trello automation can automatically send an email update on your behalf. This is particularly useful for notifications or status updates.
For example, Bob the Builder could send a project update to his client when he drags a Trello card from ‘In Progress’ to ‘Snag List’. By using variables, this email could address the client by name, include a checklist from the Trello card to show what still needs to be done, and give the date by which they aim to be finished.
Learn more about how to send an email when you drag and drop a card.
Send an email when a card is due
Email for Trello allows you to send an email from Trello by typing a comment, which opens up a lot of great opportunities for automation!
For example, when a card is due in the next 2 days, you might want to send an email reminder to the team lead on the project. Trello automation works on triggers and actions, so here’s how this email automation would look:
Trigger: Two days before a card is due…
Action: Post comment “@email teamlead@example.com This is due soon, let’s put in some extra effort to get it done! :)”
Find out more about posting a comment when a card is due.
Send an email after a certain number of days
This useful Trello automation can automatically send a follow-up email after a chosen number of days. If you’re part of a sales team, this is a helpful automation to take the effort out of chasing leads, or even streamline your after-sales process. This automation relies on two steps:
Set the number of days to wait. For example, once an email card is moved into the list ‘After Sales Feedback’, the due date will be set for 3 working days’ time.
Send the follow-up email. The moment the card is due, you can add an automation to post a comment on the card. For example, a comment with “@reply ##feedbackrequest” will send a reply to the contact on the card with your ‘Feedback Request’ Saved Reply template.
You can read more about how to set up and send a timed follow-up email on the blog.
For more automation tips and inspiration, have a look at our Trello workflow guides:
Email Help Desk in Trello. Respond to incoming emails, manage tickets and resolve customer queries from a shared central workspace.
Finance Workflow in Trello. Quickly process invoices and get an overview of your bills, right from receipt to payment and filing.
Hiring Pipeline in Trello. Effectively visualize your hiring pipeline from applications and screening, to interviews and offers.
Project Workflows in Trello. Customize your own project management workflow so that you can organize to-dos, spot bottlenecks, and keep stakeholders up to date.
Streamline your business workflows with Trello and email integration
Trello is a great tool for building and optimizing workflows. But the Email for Trello Power-Up gives your workflow an added boost by seamlessly integrating your email too – making your team’s collaboration and communication processes more organized, visible and efficient!


